How to Sync Local OneDrive for Business With OneDrive in Office 365
Just like Microsoft Skype has at least four different versions that I am aware of, OneDrive comes in many flavors. It seems like if Microsoft keeps coming up with new flavors of OneDrive, one day they will offer more flavors than Baskin-Robbins. Okay, I may be exaggerating but dealing with multiple versions of a product is a challenge for an information worker who just wants to use the product and doesn’t want to become an expert on the multiple versions of OneDrive. For home users, or people who work for small businesses that don’t have an IT support staff, dealing with OneDrive issues can be a pain.
In this article, I will offer some guidance on how to synchronize OneDrive for Business on your computer to OneDrive in the cloud (Office 365). This can be challenging in certain scenarios and frankly things can potentially get messy depending on the type of software you have installed on your computer and how many versions of OneDrive are you running at one time. For the purpose of this article, I will assume you are running Windows 10 operating system.
Multiple Flavors of OneDrive
These are the flavors of OneDrive that I am familiar with.
- Personal OneDrive that comes with Windows 10.
- OneDrive for Business that is part of Microsoft Office (e.g. Microsoft Office Professional Plus) and is installed locally. You can also download OneDrive for Business client from Microsoft’s Web site, which is the same OneDrive for Business that is included in Microsoft Office and is installed locally.
- Cloud-based OneDrive that comes with a Microsoft account (e.g. Outlook.com, Live, com, Hotmail.com, etc.).
- Cloud-based OneDrive that is included in Office 365.
You can only imagine the issues you are going to run into when you are working with more than one types of OneDrive. Consumers call it a nightmare, while consultants call it a job security. Whichever category you might belong to, my goal is to provide some assistance in this article. To keep things simple, I am going to keep my focus on only two types of OneDrive:
- OneDrive for Business that’s included in Microsoft Office Professional Plus.
- OneDrive in Microsoft Office 365.
Multiple OneDrive installation can exist on one computer, as demonstrated in the screenshot below which shows I am running three different versions. However, things can get tricky and unless you really understand what you are doing, I don’t recommend running multiple instances. For information on how to identify different versions of OneDrive, read my article How to Identify the Various Versions of OneDrive on Your Computer.
![]()
Why Use OneDrive?
There are so many reasons that you may want to use OneDrive, but the main reasons include the ability to backup your data to the cloud or to synchronize your data with a cloud-based service so you can access it anywhere but also work on the files locally when you are not connected to the cloud. For example, if you travel with your laptop OneDrive can be very helpful. You can store your data on the local OneDrive and sync it to the cloud to ensure that the data can be restored in case your hard drive becomes corrupted or your laptop is lost or stolen. If you don’t use a similar service and are not always connected to your business network, you are personally responsible for backing up your data on the local laptop. I don’t think you would want to take on that responsibility.
One Common Scenario
Because this common scenario may help a lot of my readers, I am going to discuss it in this article. If you are working with OneDrive for Business and try to sync it to OneDrive in Office 365 by entering the URL for your OneDrive for Business in Office 365, you may see the following message:
Select the library you want to sync
We found multiple libraries for the site you specified. Select the one you want to sync.
Form Templates
Style Library
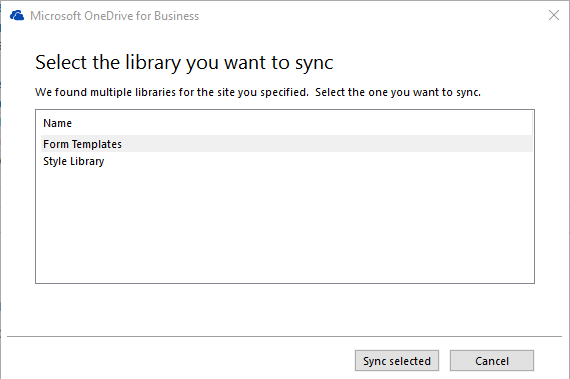
No matter what you select, you will fail to map the drive properly to your OneDrive in Office 365. When dealing with multiple versions of OneDrive on one computer, you are likely to run into some difficulties. It’s almost impossible for me to cover all possible scenarios in this article. If you see the above error, just cancel out of that screen and follow the instructions below to setup a link between your OneDrive in Office 365 and OneDrive for Business on your computer.
Synchronizing OneDrive in Office 365 to OneDrive for Business
- Open your Web browser and sign into your Office 365 account.
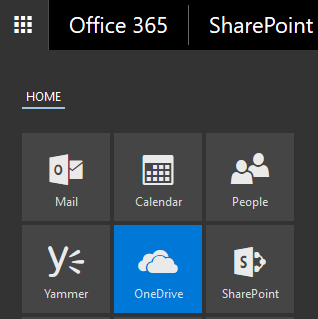
- Click the App launcher icon
 and then select the OneDrive app.
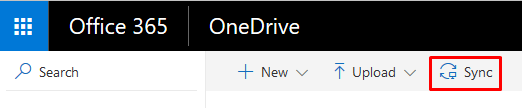
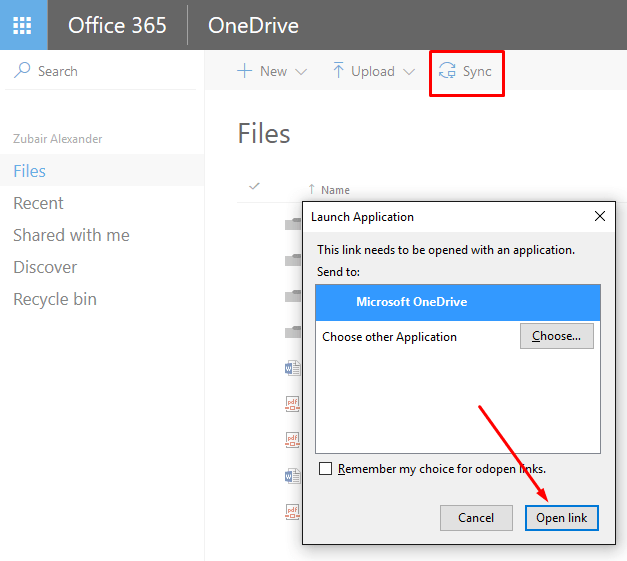
- Click Sync to synchronize the content in OneDrive in Office 365.
- If you are prompted to open Microsoft OneDrive, click Allow.
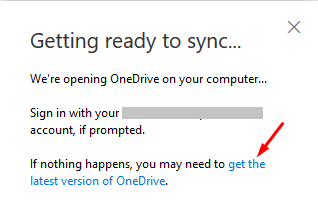
- This next step depends on the version of OneDrive you are running, how you are logged into your Office 365 account, and whether you are running the classic OneDrive. You may see either one, or two popup boxes: Launch Application box and a Getting ready to sync… box. Click the blue hyperlink get the latest version of OneDrive. This will ensure you have the correct version and are able to synchronize properly. If you don’t get prompted to sign in, you definitely need the new OneDrive sync client. If in doubt, just get the new client by clicking on the hyperlink.
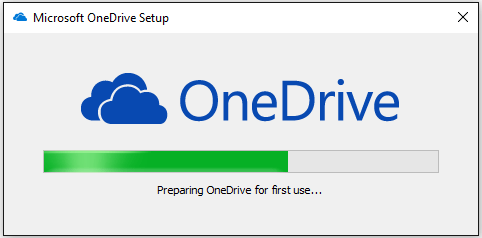
- The installer may start the OneDrive installation automatically. If you downloaded OneDrive for Business locally, then run the executable file manually. You should see the following progress bar indicating your OneDrive for Business is being prepared for first use.
- On the next screen, sign into your Office 365 account. If for some reason you don’t see the sign in screen just go back to step 3 above and click Sync again. This time in the Launch Application box click Open link.
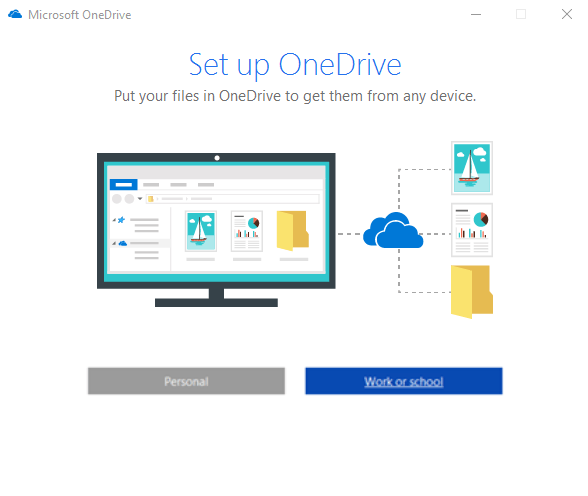
- Provide the Office 365 credentials. If you have already signed in to Office 365 you won’t see the following screen. You may the screen with the option to sign in to either Personal, or Work or school account.
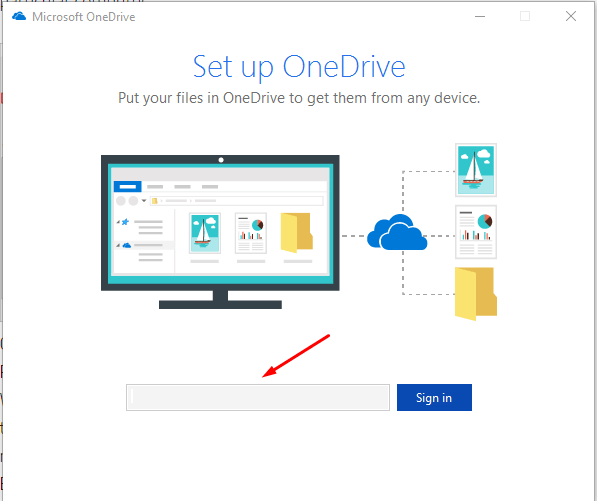
- Sign in to Office 365, using your work or school account. Your screen may look different. Your goal is to sign into your Office 365. If you are already signed in then you may be taken to step 11.
- Once you’ve successfully signed in to your OneDrive for Business, go to your Web browser and then run the sync (step 3 above) again. In the Office 365 sign in screen, enter your email and password for your Office 365 subscription in the cloud.
WARNING: Due to a well-known bug in Office 365/OneDrive that has existed for a long time, the blue Sign In button doesn’t function so clicking it won’t accomplish anything. You must enter the password and then press the ENTER key.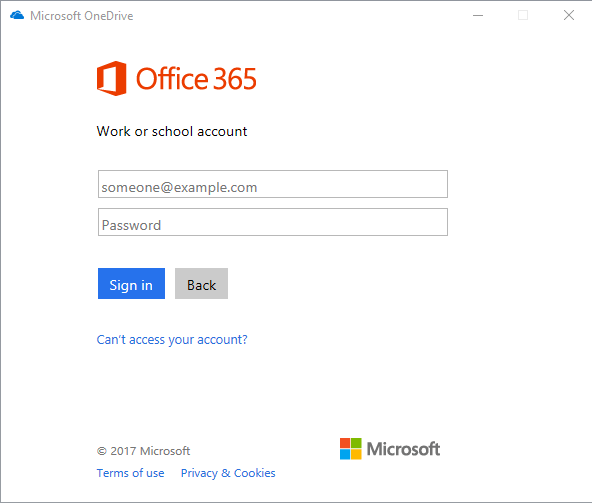
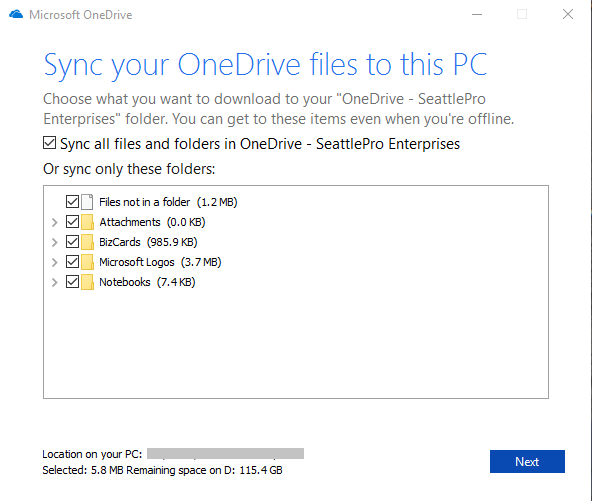
- Once you have signed in successfully, you will see the following screen with your OneDrive folders and files in Office 365. Because you are using OneDrive for Business, it will say OneDrive – Your Business Name (e.g. OneDrive – SeattlePro Enterprises). You can deselect the folders that you don’t want to synchronize and then click Next.
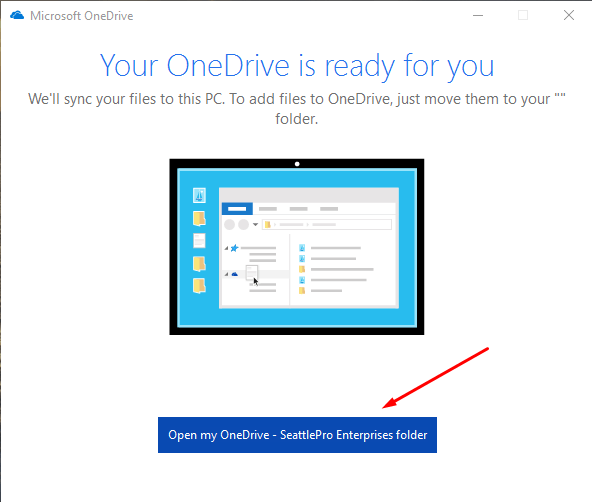
- After the files are synchronized, your OneDrive should be ready to use. Click Open my OneDrive.
- The OneDrive will show up as a separate icon in Windows File Explorer. It’s a OneDrive for Business so the icon will show blue clouds and the it will display your company name. The green check mark indicates all files are synchronized.
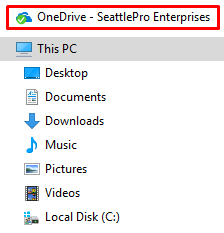
- Ideally, this folder should be within your Documents folder, where all your data is saved by default. Any files you copy to the OneDrive for Business hierarchy will be synchronized with the OneDrive in the Office 365 and any files copied to the OneDrive in Office 365 will be available in your local OneDrive for Business folder.
- Cancel or close out any open dialog boxes, such as Launch Application or Getting ready to sync.
Other Related Articles
Here are some other articles I have written in the past that you may find useful.
- What is OneDrive and OneDrive for Business?
- How to Disable or Remove OneDrive in Windows 10
- How to Identify the Various Versions of OneDrive on Your Computer
- OneDrive for Business and Office 365 Sign In Bug
Copyright © 2017 SeattlePro Enterprises, LLC. All rights reserved.

