How to Bring Back Windows Photo Viewer in Windows 10

Those of us who have used Windows Photo Viewer in earlier versions of Windows miss not having it in Windows 10. The new Photos store app from Microsoft is a replacement for Windows Photo Viewer. The app is pretty nice and gives you the ability to setup a slideshow, collection of photos, albums, and more, but it’s more of a photo manager. If I want to quickly view images without other distractions, I prefer Windows Photo Viewer over Photos. I can also open the files in another photo application easily within Windows Photo Editor for editing.
One reason that I prefer Windows Photo Viewer over Photos app is that I am used to it. However, I am not suggesting that you start using Windows Photo Viewer instead of the Photos app. I am just pointing out my preference and if there are folks out there who want to use Windows Photo Viewer in Windows 10, I want to show them how they can bring back the application.
Step-By-Step Procedure
Here’s the step-by-step procedure for using the Windows Photo Viewer in Windows 10.
| WARNING! The following procedure requires modification to the registry, which should only be done by trained professionals who know how to work with Windows registry. Working with Windows registry is like doing a brain surgery on your Windows computer. Follow this procedure at your own risk. |
- Log in to Windows 10 with an account that has administrative privileges.
- In Windows 10 search box type regedit and press Enter.

- When prompted if you want to allow the app to make changes to your device, select Yes.
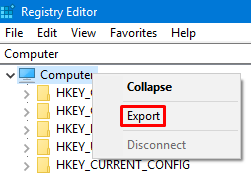
- First you should backup the entire Windows registry. Highlight the blue Computer icon in the top left-hand corner, then right-click and select Export.
- Name the file something like Full Registry Backup. The exported file will have the extension .reg. Click Save.
- Download this text file called WindowsPhotoViewer.txt. Thanks to Edwin for providing this code on tenforums.com.
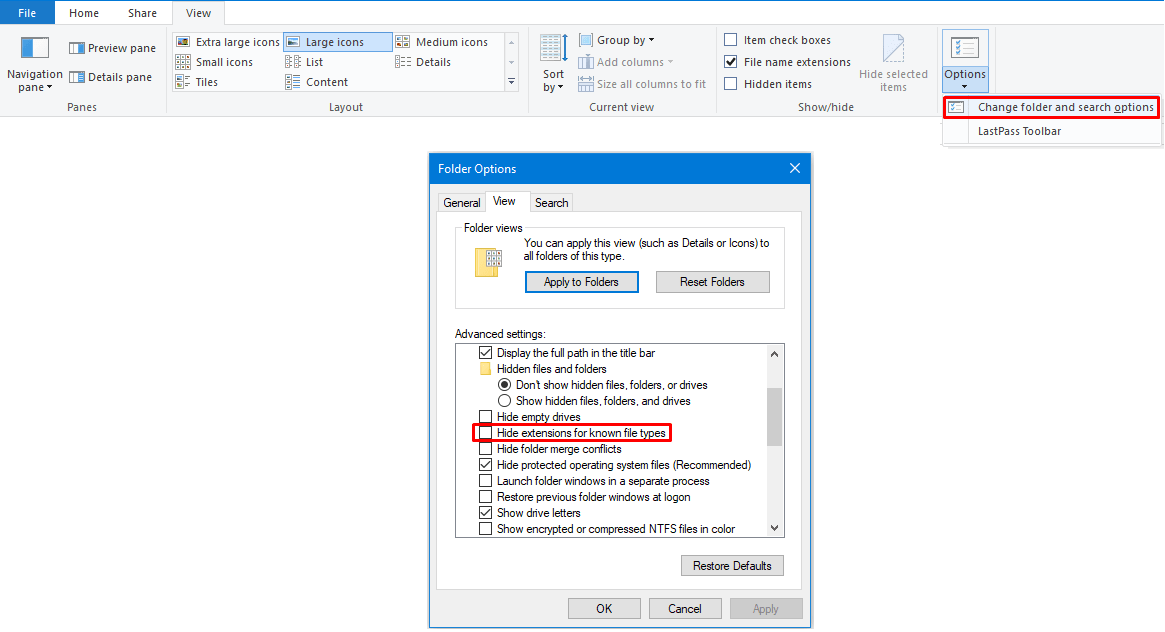
- Next you need to rename the file to something like WindowsPhotoViewer.reg, but if you don’t see the file extension .txt at the end of the file, you may need to unhide the file extensions in Windows File Explorer.
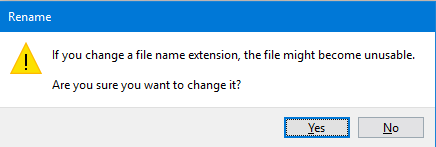
- In this example, let’s rename the file to WindowsPhotoViewer.reg. At the rename warning click Yes.
- Double-click the WindowsPhotoViewer.reg file to import the data into the registry and create the necessary keys and values.
- At the registry editor warning, click Yes to continue.

- You will see a message that the keys and values contained in the WindowsPhtoViewer.reg have been successfully added to the registry. Click OK.
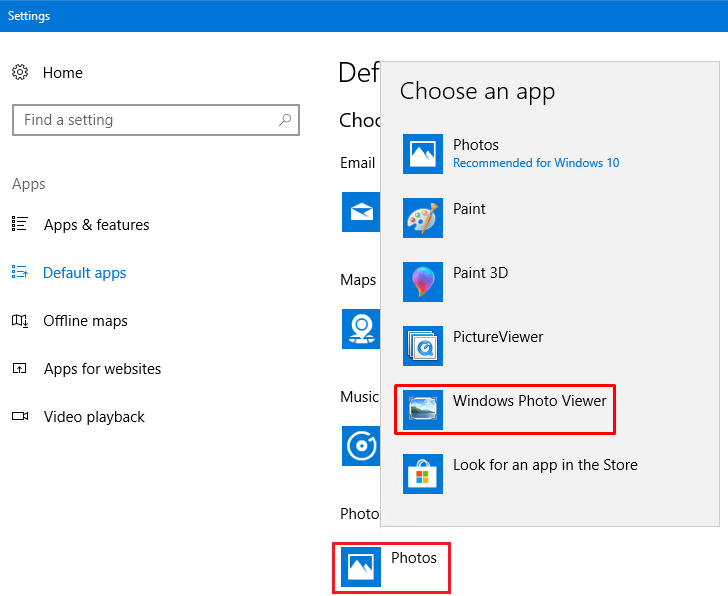
- In the Windows Search box type Default App Settings and press Enter.
- In the Choose default apps section click Photos under Photo viewer. Your default may be set to a different photo viewer instead of Photos. Clicking this app allows you to change the default app.
- Select Windows Photo Viewer from the list.
- Now when you double-click on a photo, it will open in Windows Photo Viewer by default.
What to Do if Windows Photo Viewer is Missing from the List
If for some reason you don’t see the Windows Photo Viewer application in step 13 then try this technique. Let’s say most of your files have .JPG extension and you want them to open in Windows Photo Viewer.
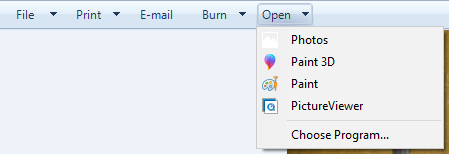
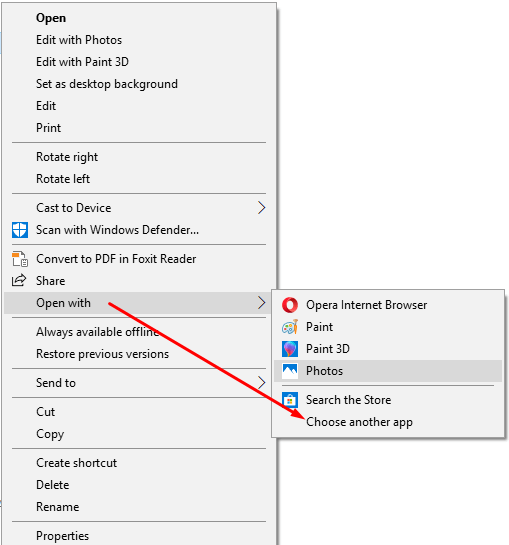
- Open Windows File Explorer and right-click any .JPG file on your computer, move your mouse over Open with and select Choose another app.
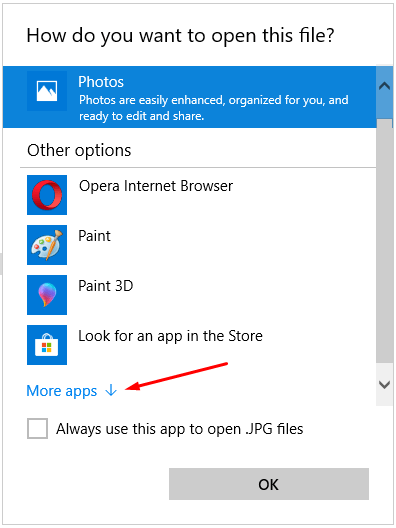
- Scroll down and click More apps.
- Click Windows Photo Viewer in the list, check the box Always use this app to open .JPG files, and then click OK.
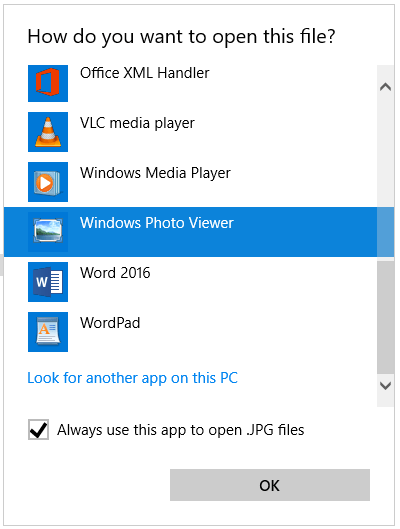
- Now all your .JPG files will open with Windows Photo Viewer by default. If there are other common files, e.g. .PNG files, that you want to open with Windows Photo Viewer, simply pick a .PNG file and repeat the above steps. The .TIF and .TIFF files are automatically associated with Windows Photo Viewer by default so you don’t need to worry about them.
| Thanks for reading my article. If you are interested in IT training & consulting services, please reach out to me. Visit ZubairAlexander.com for information on my professional background. |
Copyright © 2018 SeattlePro Enterprises, LLC. All rights reserved.

