How to Backup Active Directory Domain Services on Windows Server 2012 R2

Here’s a step-by-step procedure to back up the System State on a Windows Server 2012 R2 using the Windows Server Backup tool. Backing up the System State also backs up Active Directory Domain Services.
What Does System State Include?
On a Domain Controller, the System State generally includes the following but the data that is included really depends on the server roles that are installed on the server. For example, if you don’t have Active Directory Certificate Services (AD CS) installed then it won’t include that data.
- Registry
- COM+ Class Registration database
- Boot files
- Active Directory Certificate Services (AD CS) database
- Active Directory database (Ntds.dit) file and log files
- SYSVOL directory
- Cluster service information
- Microsoft Internet Information Services (IIS) metadirectory
- System files that are under Windows Resource Protection
NOTE: You can also use the command line options to back up the System State as described here.
Step-By-Step Procedure
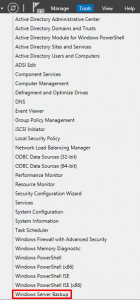
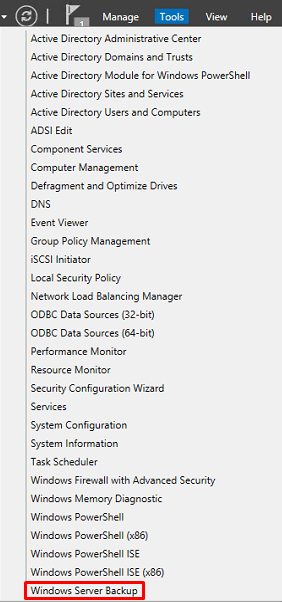
- To use the Windows Server Backup console go to Server Manager and on the Tools menu select Windows Server Backup, or type wbadmin.msc at the command prompt.NOTE: If you don’t see the Windows Server Backup option under Tools then you need to install the Windows Server Backup role. By default, this role is not installed.
- Click Backup once in the Actions menu on the right hand side.
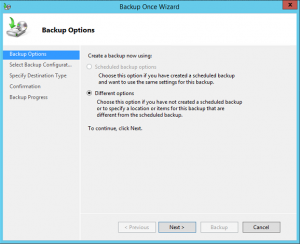
- Click Different option and then click Next.
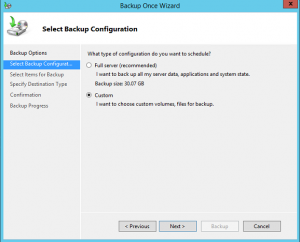
- Click Custom and then click Next.
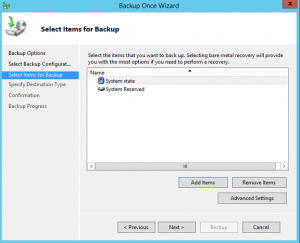
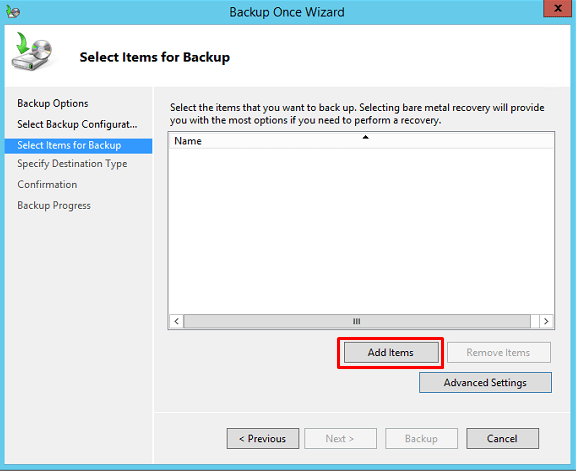
- Click Add Items.
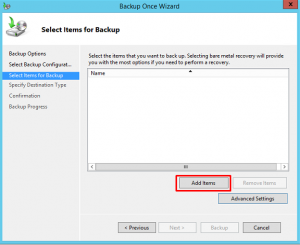
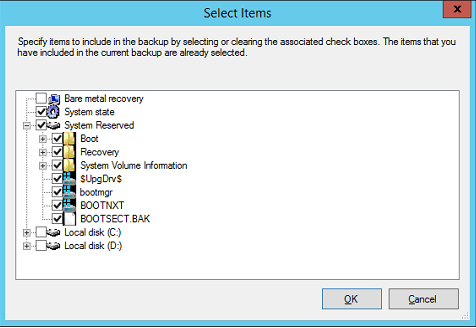
- In the Select Items window select System state and System Reserved. Click OK to close the window.
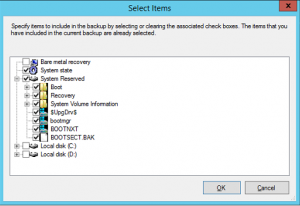
- In the Select Items for Backup window click Next.
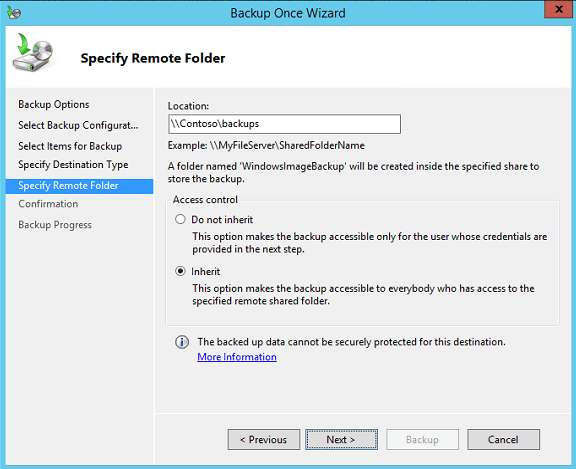
- You can backup the System State to either a local disk or a network share. I prefer to back it to a network share.
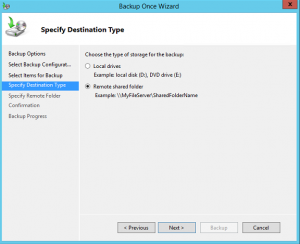
- Enter the server and share name and then click Next.

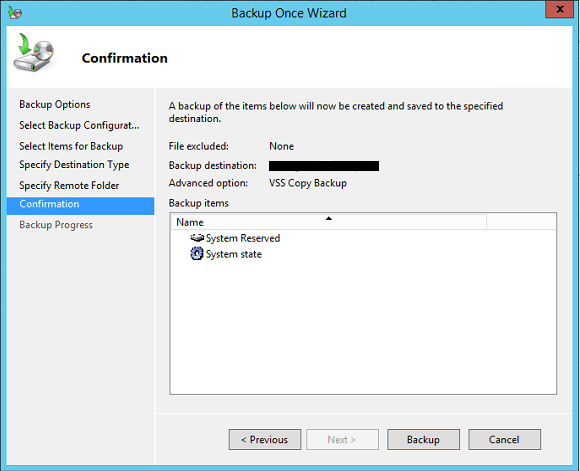
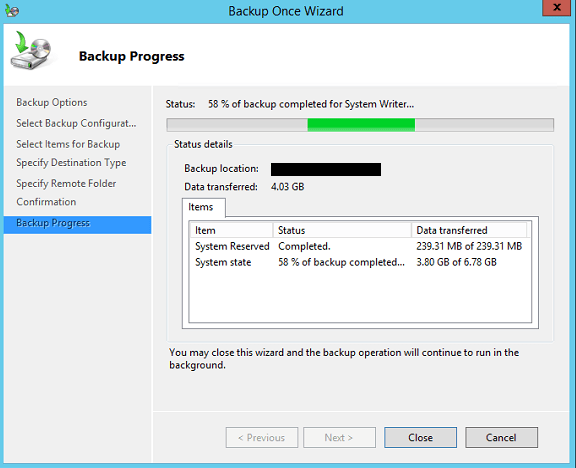
- On the Confirmation screen click Backup to start the backup.

- On the Backup Progress screen you can close the wizard and let the backup operation run in the background, or you can click Close after the backup is complete.


As a best practice, verify your backups occasionally by doing trial restores to make sure your backups are working. Since this is your first backup, it is a good idea to test this backup as well.
One thing to keep in mind is that Win32 service files are not reported by the System Writer as part of the System Component for Windows Server 2012. They are, however, reported as part of the System Component for Windows 8. To include or exclude the Win32 service files in the system state you can set the value of the registry key HKLM\System\CurrentControlSet\Control\SystemWriter\ReportWin32ServicesNonSystemState to either 0 or 1. Zero will include the Win32 service files, while 1 will exclude them. Be careful, on a server if you delete this registry key it will exclude the Win32 service files but if you delete the registry key on a client, it will include them.
To learn more about Windows Server Backup role click here.
Copyright ©2013 Zubair Alexander. All rights reserved.

