How to Add Outlook.com POP3 Account to Microsoft Outlook 2013

Outlook.com is the new Web-based email client from Microsoft. It used to be called live.com, hotmail.com, msn.com, etc. In 2014 it’s called Outlook.com. Next year it may have a different name because Microsoft doesn’t like consistency in general when it comes to product names, logos, naming conventions, etc. I’m just sayin’………. :).
You may find it convenient to add your free Web-based Outlook.com POP account to Microsoft Outlook 2013 which is the Office email application. This will allow you to send and receive Outlook.com email in Outlook 2013 client. You can use Outlook Connector, Outlook 2013 Exchange ActiveSync, or POP3 and SMTP. In this article I will show you how to add a POP3 Outlook.com account to Outlook 2013. Here are the steps.
1. Login to your Web-based Outlook.com account.
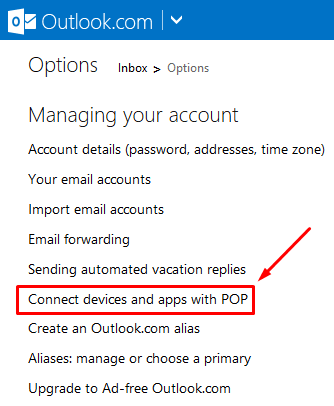
2. Go to Settings -> Options.

3. Click Connect devices and apps with POP.
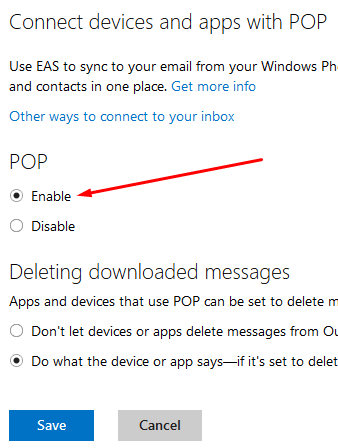
4. Select the Enable radio button and click Save.
5. Now that you have enabled POP in Outlook.com, you are ready to add your account to Outlook 2013. Start Outlook 2013 if it’s not running already.
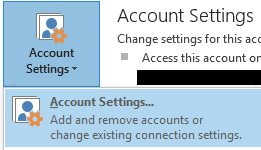
6. On the main menu click File -> Account Settings and then click Account Settings in the drop-down box.
7. In the Account Settings window click New on the Email tab.
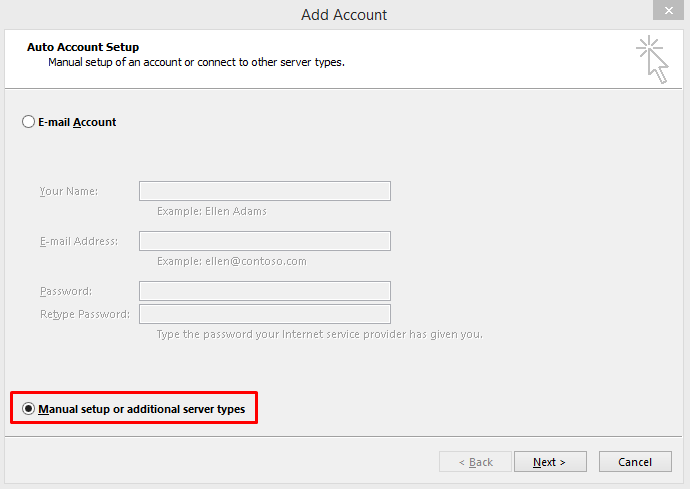
8. In the Add Account window select the radio button Manual setup or additional server types and then click Next.
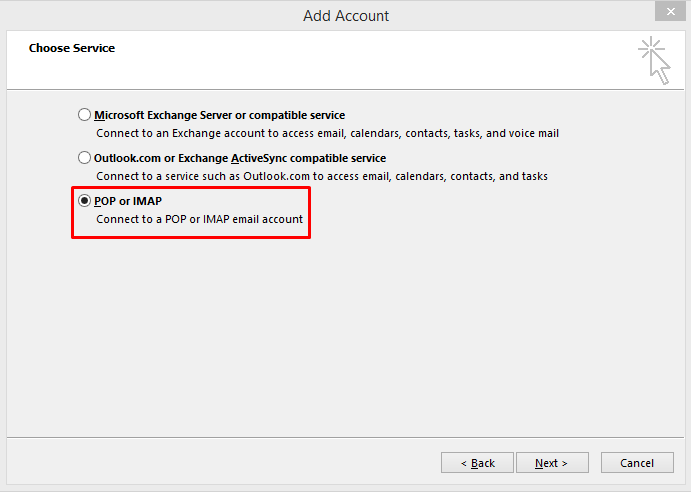
9. Click POP or IMAP and then click Next.
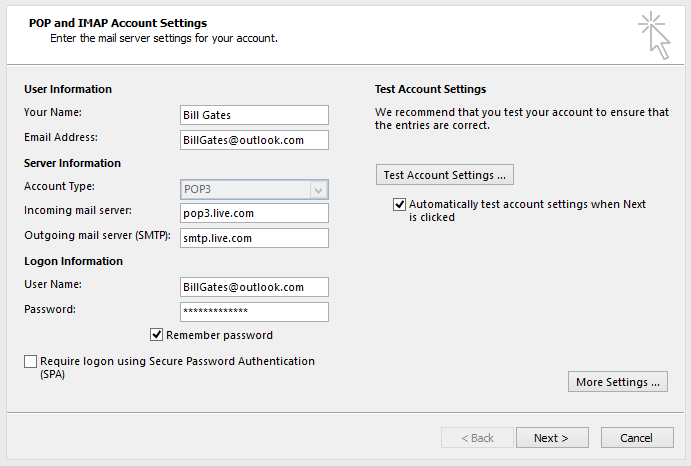
10. Enter your name and Outlook.com email address (e.g. BillGates@outlook.com). Fill the rest of the information as shown below.
Incoming mail server: pop3.live.com
Outgoing mail server (SMTP): smtp.live.com
User Name: Your full Outlook.com email (e.g. BillGates@Outlook.com)
Password: Your Outlook.com email password
Leave the box Remember password checked.
Clear the box Automatically test account settings when Next is clicked.
Click More Settings.
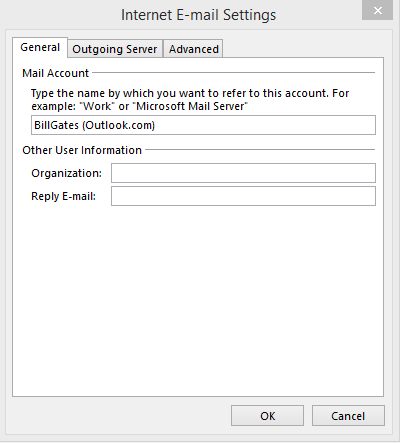
11. On the General tab enter a name for the account, e.g. BilllGates (Outlook.com).
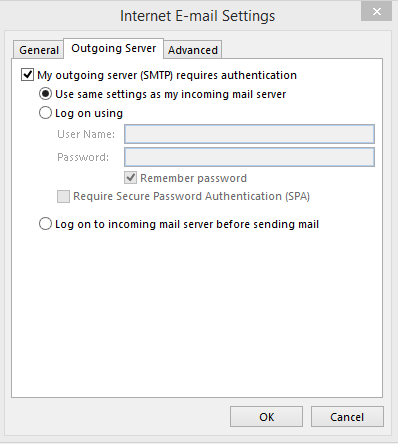
12. On the Outgoing Server tab check the box My outgoing server (SMTP) requires authentication.
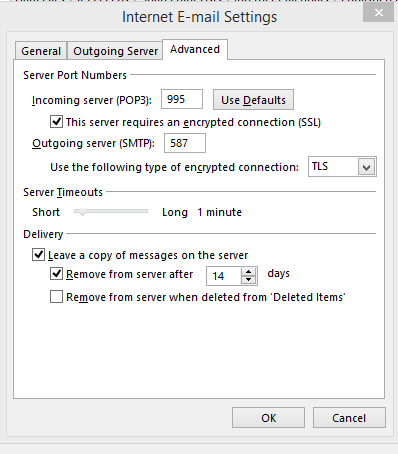
13. On the Advanced tab check the box This server requires an encrypted connection (SSL). For Outgoing server (SMTP) enter 587 in the box and select TLS as the type of encrypted connection. Select a delivery option that you like or accept the default values and click OK.
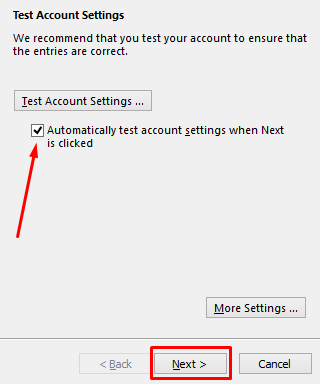
14. Select the box Automatically test account settings when Next is clicked and then click Next.
15. If you entered everything correctly and you are connected to the Internet you should see both the tests completed successfully.
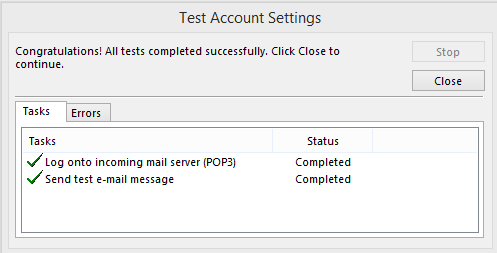
16. Click Close, Finish and then Close to exit the Account Settings window.
You have successfully added your Outlook.com POP3 account to Outlook 2013. You may add additional accounts if necessary. I am not sure what the account limit is but I have 48 different accounts in my Outlook 2013.
Update Note: November 24, 2015
This article was written for Outlook 2013 but the configuration in Outlook 2016 is very similar. Therefore, you should be able to use most of the instructions in this article for Outlook 2016.
Copyright ©2014 Zubair Alexander. All rights reserved.

